How to Set Up Your Camera for Striking Shots: Tips and Tricks for Beginner Photographers
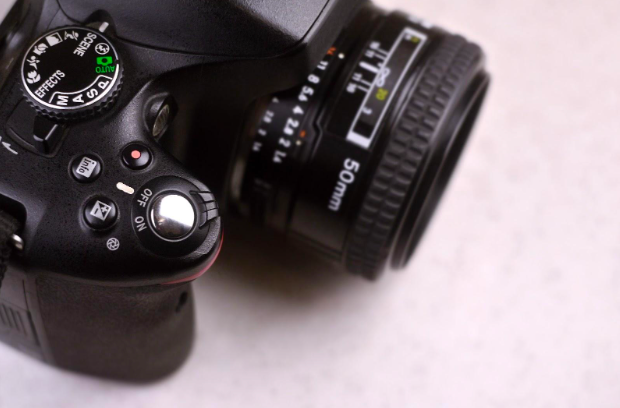
One common mistake aspiring photographers make is relying on auto camera settings. While this can be useful in some situations, it often results in overexposed and non-creative images. To develop your photography skills, you must learn how to set up your camera manually.
This article delves into the main camera settings you need to master and provides artistic techniques that will help you capture eye-catching images. Read on to discover suitable camera setup options for different conditions, learn how to take film photos, and master creative effects in your shots.
What are three basic camera settings?
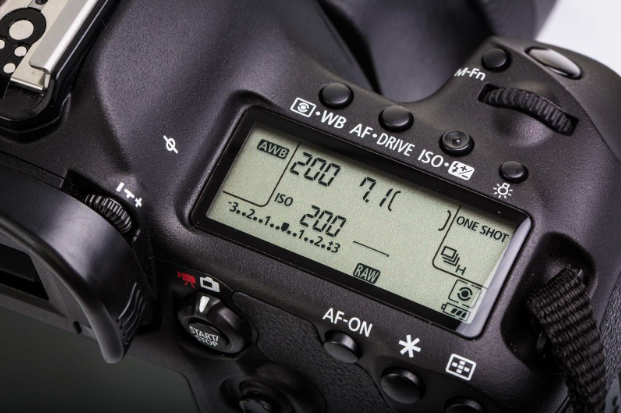
The main digital camera settings you must adjust to achieve desired exposure and visual effects in your photographs are shutter speed, ISO, and aperture. They all depend on the amount of light available in your shooting environment. Understanding how to manipulate these settings allows you to capture images with true-tone colors and the perfect balance of light and shadow.
- Shutter speed—determines how long the camera’s shutter stays open, allowing light to hit the sensor.
- ISO—manages how much light enters your camera, influencing the brightness or darkness of your images.
- Aperture (f-stop)—controls the lens opening, regulating the amount of light that enters and exposes an image.
Generally, light sensitivity is influenced by the quality of your chosen equipment. According to a MarketSplash study, 48% of photographers prefer Canon cameras, 22% opt for Sony, and 14% for Nikon.
Manual digital camera settings for beginners
Ideal photo settings aren’t constant; they may vary depending on the conditions you’re shooting in. For example, in low-light situations like late evenings, you need your camera sensor to capture as much light as possible.
Here are a few tips to help you find the best camera values for your environment:
- Lots of light means low ISO. Set the ISO to its lowest value (like ISO 100 or 200) when you have plenty of light to minimize noise in your photos.
- Low light means high ISO. Increase the ISO value to capture more light and get better-exposed shots when you’re working in low-light conditions.
- A wide aperture helps emphasize subjects. Use low f-number values like f/2.8 or f/4 to create blurred backgrounds.
- Narrow aperture adds more focus on your scenes. Adjust f-numbers to f/8 or f/11 to make your foreground and background sharp.
- Fast shutter speed freezes fast-moving subjects. Set up shutter values to 1/1000 or 1/500 for dynamic scenes. For example, when shooting sports or wildlife photography.
- Low shutter speed helps achieve creative motion blur effects. Use values like 1/30 or 1/15 to try the motion blur technique. This also helps capture scenes in low light.
- Do not neglect manual focus. There are several focus modes in professional cameras, like Single-Servo AF and Continuous-Servo AF. The first is used for stationary subjects, and the second is for dynamic scenes.
- Adjust the white balance. If you’re shooting in golden light conditions like sunrise, select a lower Kelvin value (2500K or 3200K). If your light is cool, choose options above 6000K.
Be aware that cameras can distort images due to their unique optics design and varying focal lengths. Portrait photographer Kim Ayres argues that, as a result, 90% of people aren’t fond of looking at their images. To address this, experiment with different lenses and focal lengths to find what suits your style and minimizes distortions. Furthermore, master composition techniques and angles to capture more flattering portraits.
Professional camera setups for artistic techniques
Film photography
When deciding whether you want to create film photos using a digital or analog camera, it’s crucial to understand the distinctive characteristics of each option. Digital cameras are equipped with sensors capable of converting incoming light into electronic data on a matrix. In contrast, analog cameras rely on photosensitive film instead of sensors. When light interacts with the film, a chemical reaction ensues, leading to image development. The choice between film vs. digital photography goes beyond technology; it depends on your aesthetic preferences, artistic intent, and the specific qualities you want to achieve in your images.
Film and digital photographs look different. For example, pictures captured with an analog camera exhibit a more visible graininess. Photographers highly esteem this textural quality as it imparts a vintage aesthetic. Moreover, the choice of film can yield diverse visual effects, including the presence of colored spots.
Capturing film photos on a digital camera
By managing settings on your digital camera, you can simulate film visual effects:
- Raise the ISO setting to the highest values (e.g., ISO 800 or 1600) to increase digital noise, appearing as grain.
- Use a wide aperture like f/1.8 or f/2.8 to achieve a grain effect in the out-of-focus areas.
- Reduce saturation levels in your camera’s color settings to create muted hues in your shots.
- Lower the contrast settings to produce softer and less intensive visuals.
- Use old film camera lenses on your digital camera. This requires an adapter.
- Attach diffusion or soft-focus lens filters to add a soft atmosphere to your images.
Capturing film photos on an analog camera
When working with an analog camera, pay special attention to the chosen films. They come with different levels of light sensitivity and color properties. For example, you can delve into black-and-white film photography. There are various types of such film with unique color rendering properties; e.g., the color red might appear as a dark gray or deep black. This can spark some creative film photography ideas.
Tilt-shift effect
Tilt-shift photography is a captivating technique that makes subjects in your images resemble miniature toys. These subjects can be people, cars, buildings, etc. To achieve this effect, you’ll need specialized lenses that allow you to concentrate on one part of the composition while intentionally blurring the rest, resulting in an optical illusion.
Also, remember to set up your camera correctly:
- Switch to “Tilt” mode in your camera settings.
- Choose the proper aperture value (typically between f/2.8 and f/8). This can create a pronounced blur in out-of-focus areas.
- Experiment with the plane of focus by tilting your camera downward or upward.
- Select the manual focus mode to get control over subjects you want to look sharp.
Light trail photography
Light trail photography involves a long-exposure technique that allows you to showcase the dynamic motion of light. This method is based on keeping the camera shutter open for a long time. To try light trail photography, you will need a tripod for scene stabilization.
How to take light trail photography with professional camera settings:
- Switch to manual mode to independently set up shutter speed and aperture values.
- Apply small aperture settings like f/16 or f/22 to limit the amount of light entering the lens.
- Set lower ISO values to 100 or 200 to minimize noise.
- Set a slow shutter speed. Start with 10 seconds and then adjust it for the current light conditions.
- Experiment with different shutter speeds. This can result in different light trail effects.
Conclusion
Your images can differ entirely depending on ISO, aperture, and shutter speed values. That’s why seasoned photographers set up their cameras manually to achieve the needed effect. Instead of relying on auto-camera settings, configure your equipment manually using tips from this article. Experiment with different combinations to decide on your preferred style and aesthetic.


